Premier | Product Waiting List
Description
Resolution
To add a request to the waiting list:
- In “Reception”, select the “Product Waiting List” icon on the main screen (figure 1).

Figure 1
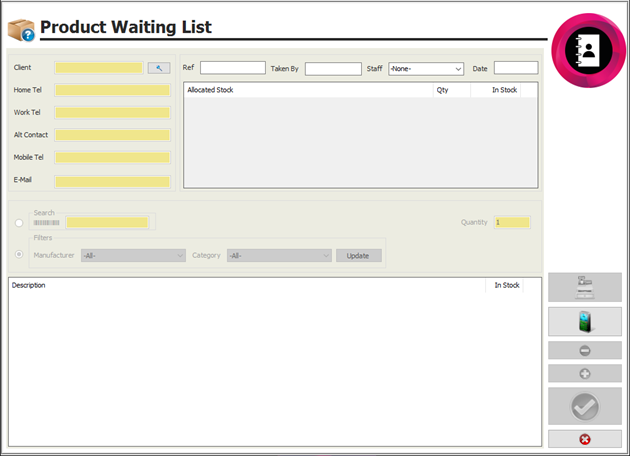
- This will display the “Product Waiting List” screen (figure 2).
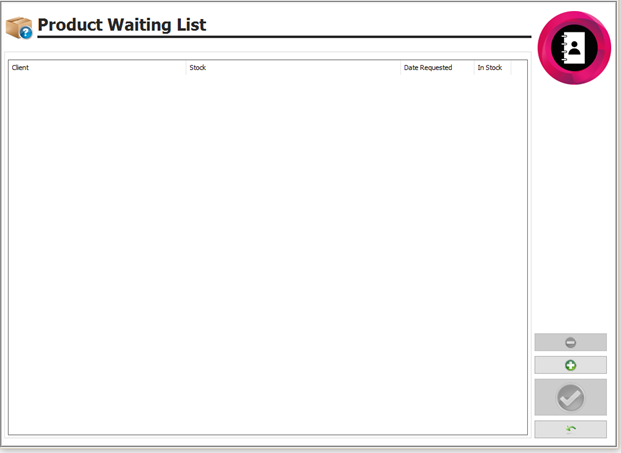
Figure 2
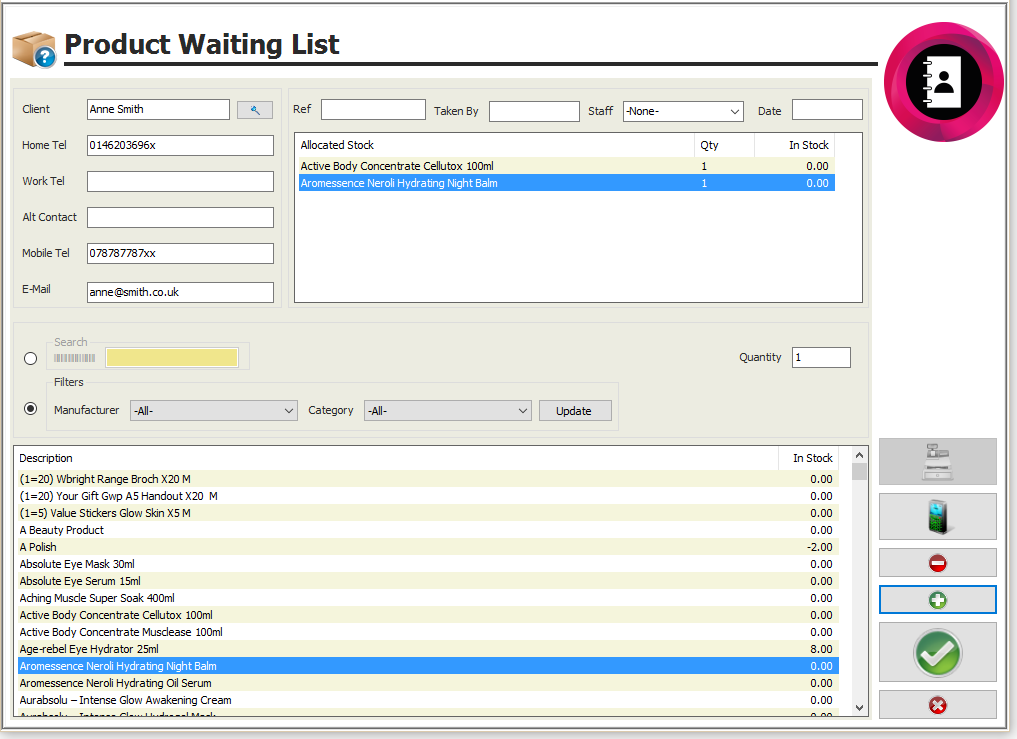
- Click the “Green Plus” and the waiting list will display (figure 3).
Figure 3
- Identify the client by clicking on the search button marked”
” next to the “Client” field.
You can identify the products by either scanning their barcodes or searching for them manually.
- Scanning barcodes:
o Select the radial to the left of the barcode symbol.
o Scan the product’s barcodes.
- Searching manually:
o Select the radial to the left “Manufacturer”.
o Use the “Manufacturer” and “Category” filters located above the product description box to filter the list of products.
o You MUST then click on the “Update Button”.
o This will then give you a list of products that fall within the product groups selected.
o Select the relevant products and click on the “Add Button” to add them to the “Allocated Stock” box.
Figure 4
- When you have added all of the products the client is requesting, click the “Green Tick” to save the selection. This will bring you back to the “Product Waiting List” screen (figure 2). The items you have just added will now appear in this list.
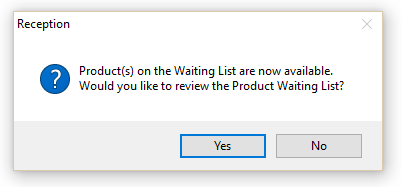
- As you deliver new stock into the system using the “Stock Delivery” facility in “Manager” the system will prompt the user that there are items on the waiting list that can now be sold (figure 5).
- If you select “No” the system will prompt you every time you log in and out of Reception until the item is sold or deleted from the “Product Waiting List”.
Figure 5
- If you select “Yes” the product waiting list screen will display (figure 2).
- Select the relevant product request which will now have “Yes” in the “In Stock” column.
From this screen, you can go straight to the client till screen with the product already added to the bill, by clicking on the till icon on the right-hand side of the screen.
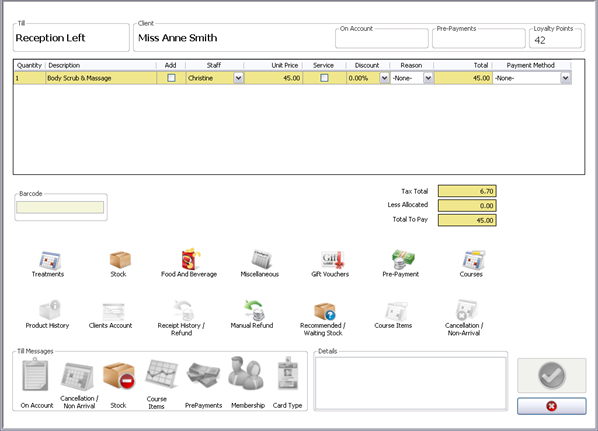
Alternatively, you can add the products to the clients’ bill through “Departures” or “Client Sale” (figure 6).
Figure 6
- Click on the “Recommended/Waiting Stock” icon (figure 7).
Figure 7
- This will display the waiting list items.
- Click on “Add” to add the item to the bill.
- Click on “Close”.
- Process the bill as normal.
Related Articles
Premier | Appointment Waiting List
Description The “Appointment Waiting List” enables the user to store appointment requests. The system will continually search through your diary and alert you when an appointment on the list is available to be booked. Resolution In "Reception" click ...Premier | Appointment Code Setup
Description Appointment Code Setup creates the booking rules for all staff based appointments. The initial code creation defines the dependency on "Rooms" or "Facilities" and sets the fundamental business rules for the organisation. ? Important Note ...Premier | Appointment Booking
? Summary The Appointment Book allows staff to view, book, and manage client appointments. It provides features for scheduling, searching, billing, and managing availability, along with a comprehensive screen layout for daily operations. ❓ Likely ...Premier | Departures
Description When the client has finished their appointments and has come to pay they need to be departed in the system. Resolution Select the “Departures” icon (Figure 1). Figure 1 You will now be presented with the following screen (see Figure 2). ...Premier | Appointment Search
Description The appointment search facility is an alternative to the “Diary View” as a method of booking an appointment into the diary. Instead of manually looking through the diary you specify the booking details and the system will search through ...
