Premier | Future Payments
Description
Resolution
Selling a Future Payment
- In “Reception” click on “Future Payments” (See figure 1).
Figure1
- Search for your client.
- Select your client from the list, which is populated, then “Green Tick”.
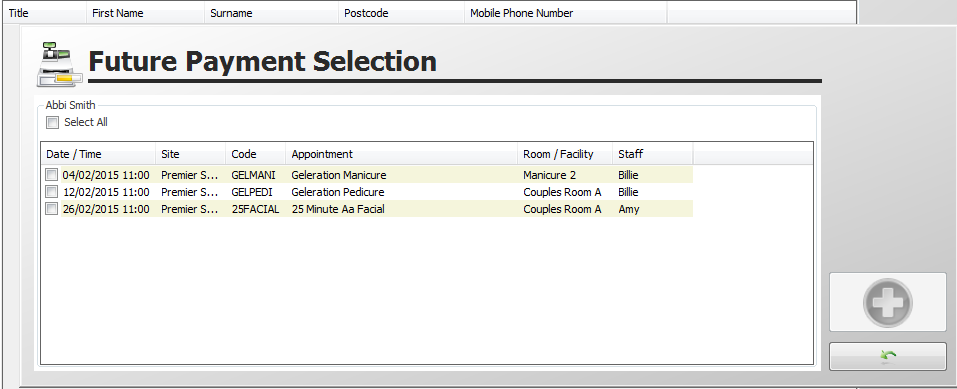
The following screen will appear (Figure 2).
Figure 2
The items listed here will be all the appointments that this client has booked.
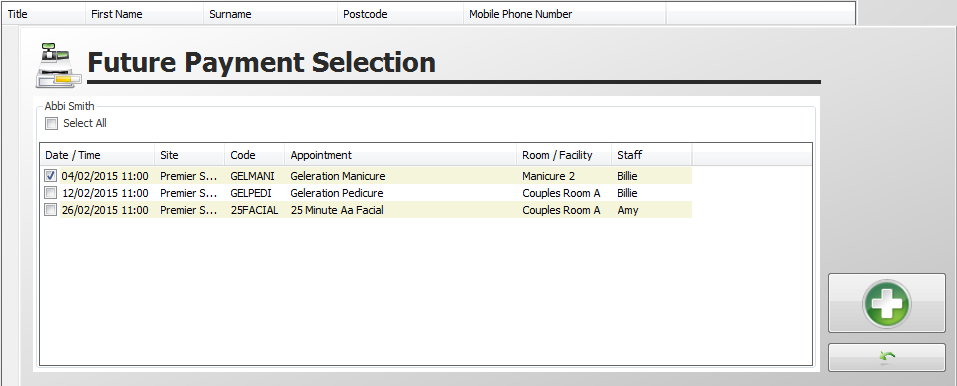
- If you wish to pay for them all, tick the “Select All” box. Alternatively, place a tick in the box located before the treatment you wish to pay for (see Figure 3).
Figure 3
- Press the “Green Plus” button.
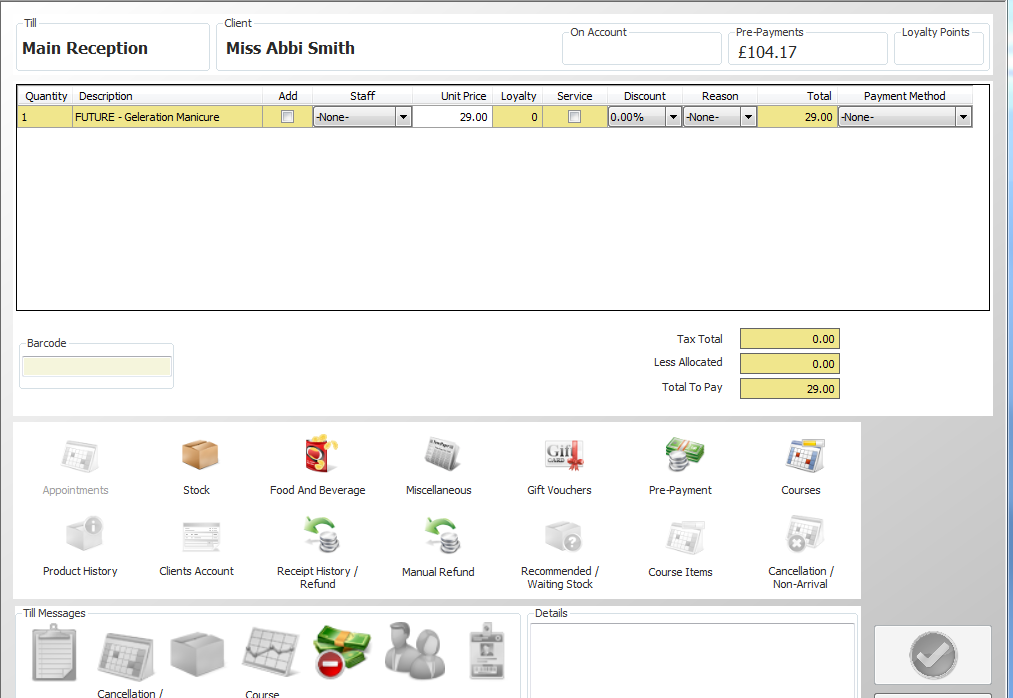
You will now be presented with the following screen (see Figure 4).
Figure 4
- Confirm the Future Payment amount; if the payment is to be anything other than the full payment, the amount should be entered directly into the Unit Price column.
- Action any “Till Messages”
- “Green Tick”
- On the “Payment Allocation” screen, state how the client is paying - select VT
Figure 5
- “Green Tick”
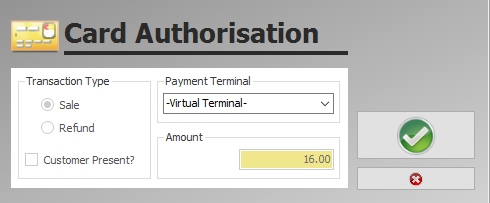
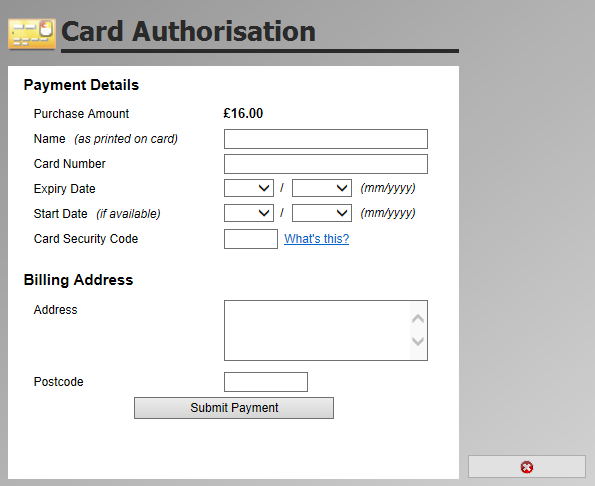
- You will be prompted to enter the guest card details
Figure 6
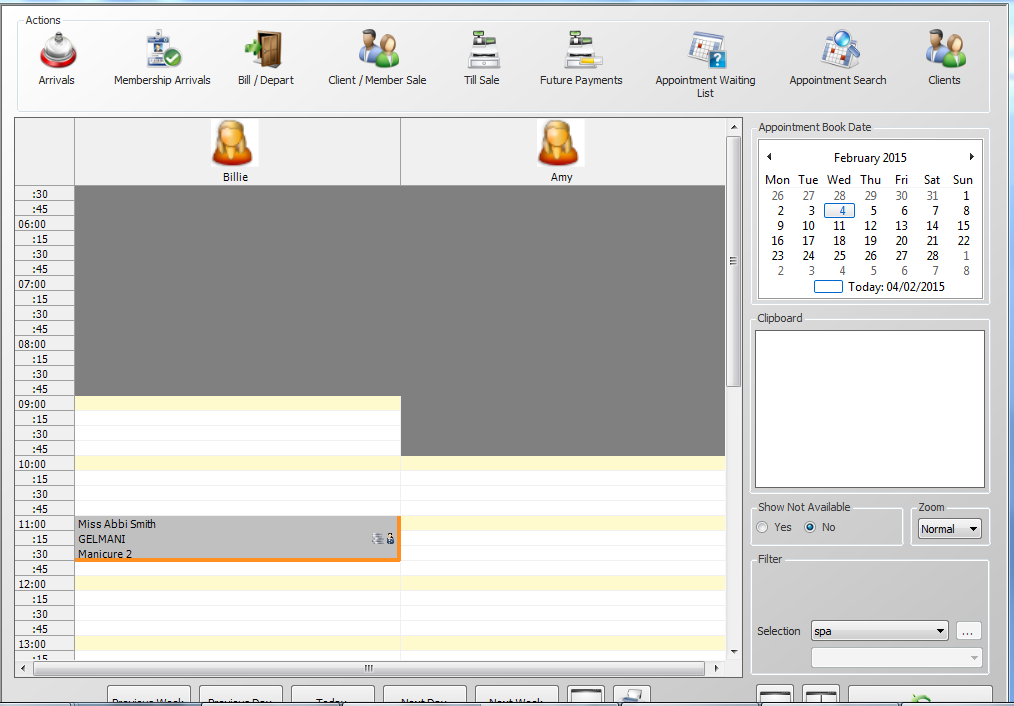
When looking at the diary any appointment that has been future paid will show with silver coins (Figure 7).
Alternatively, you can configure your Core by Premier system to prompt for a Future Payment as each appointment is booked.
- If the appointment is booked using the Green Tick, this will only process a payment for that particular appointment.
If the appointment is booked using the Green Tick +, this will process a payment for all the appointments just booked.
Redeeming a Future Payment
- “Arrive” the client as normal.
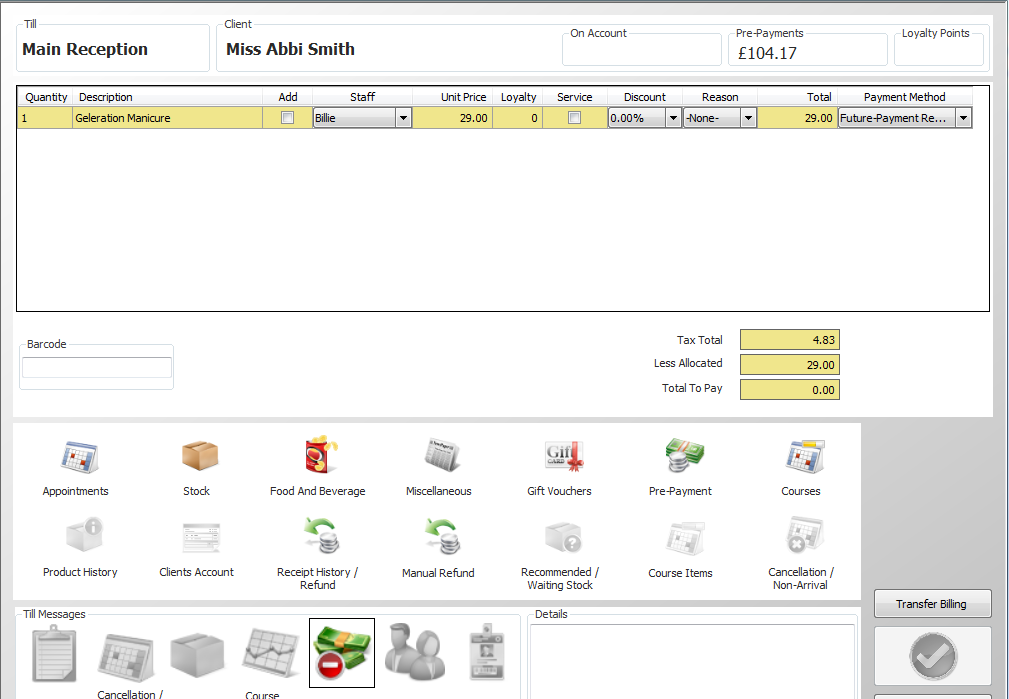
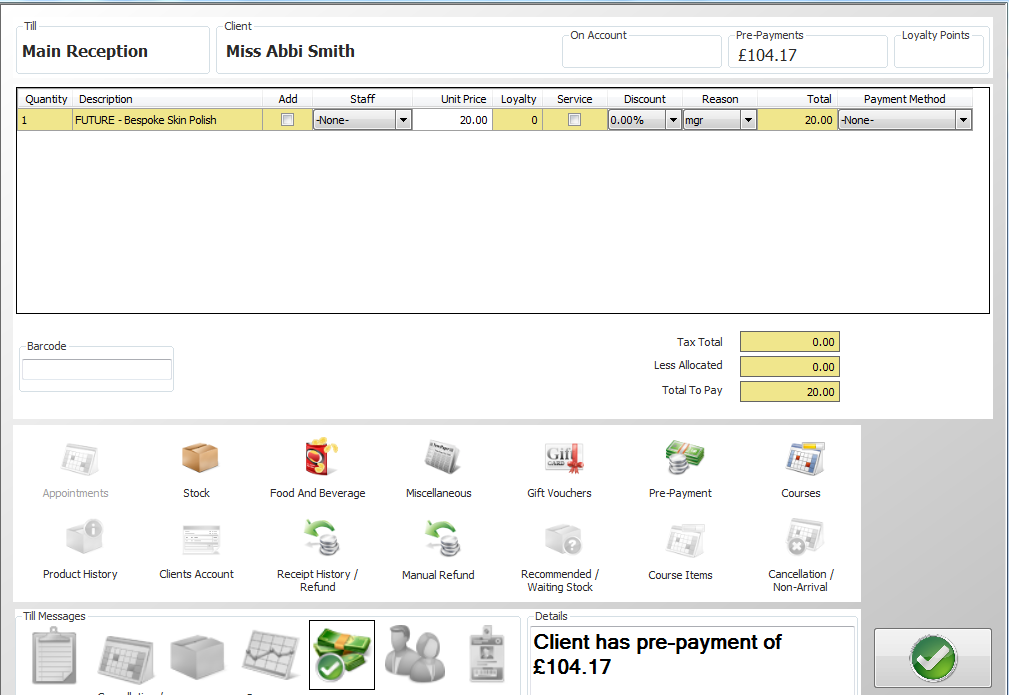
- When departing the client, any Future Payment is automatically deducted from the bill value. The Future Payment is shown in the Less Allocated box and any remaining amount left to pay is shown as the Total to Pay (See Figure 8).
Figure 8
- Action any till messages.
- “Green Tick”.
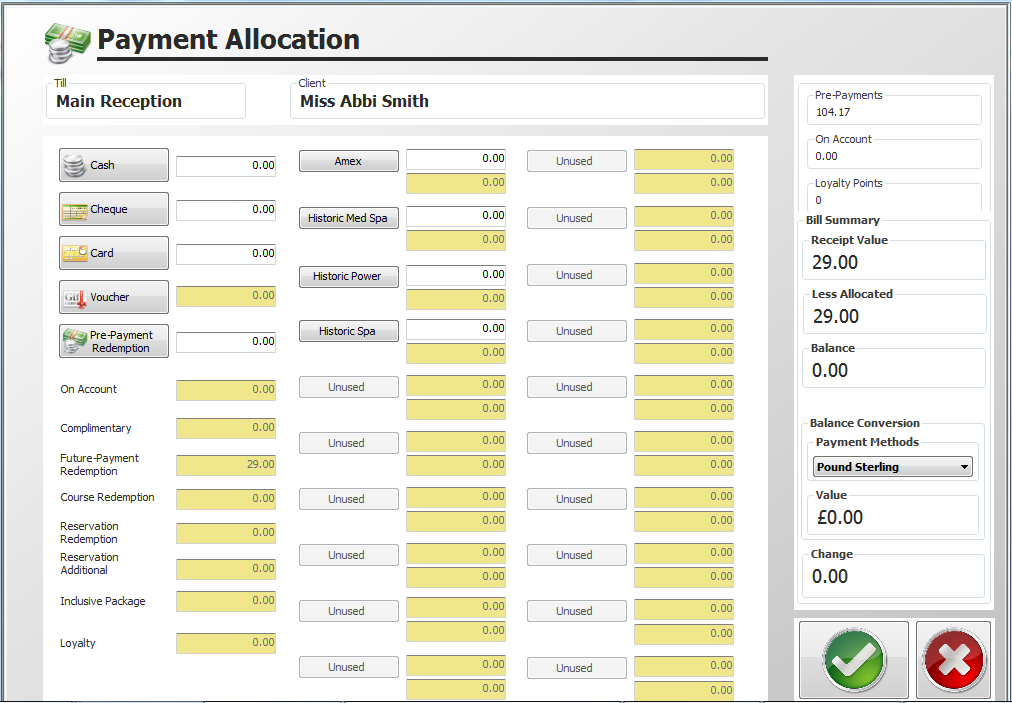
- On the Payment Allocation screen, the Future Payment Redemption is again automatically allocated (see Figure 9).
- Allocate any balance left to pay to the appropriate payment method(s).
- “Green Tick”
Future Payments – taking a part payment
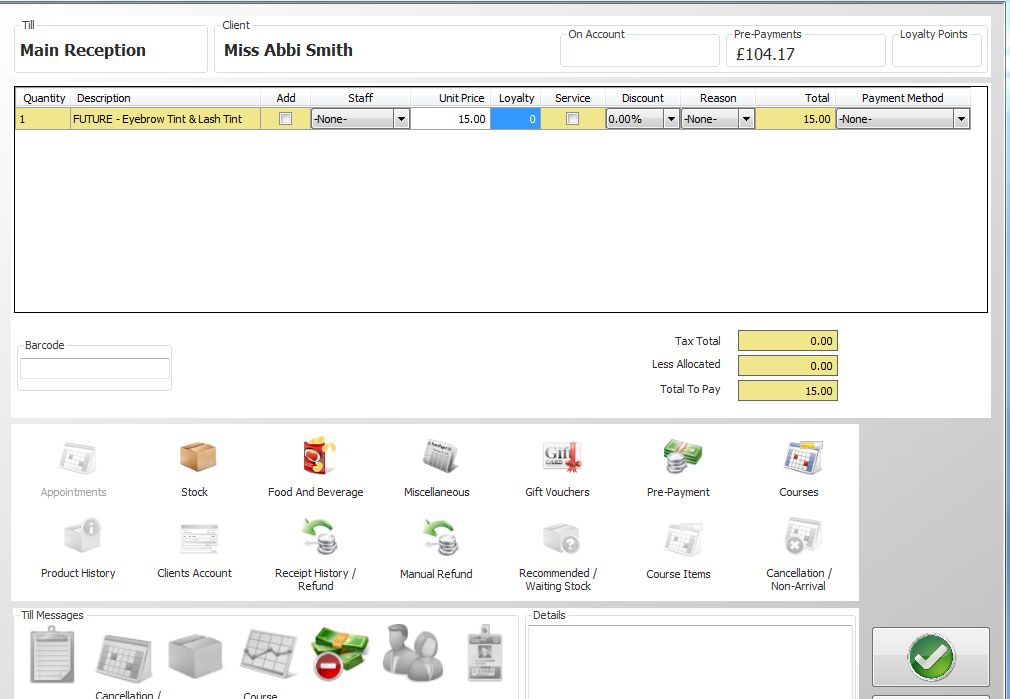
Users can take a part deposit through future payments; for example, the appointment may be for £30.00 and you only wish to take £15.00 now and then £15.00 on departure, to do this:
- Book the treatment as normal.
- Click on “Future Payments”, and select the relevant treatments, this time on the future payment screen in the Unit Price amend the price to the required deposit (in Figure 10 below), we are only paying £15.00 which will leave the remaining £15.00 to be paid on departure
- Action any Till Messages.
- “Green Tick”.
- In the payment method screen state how the client is paying for their Future Payment.
- Arrive the client as normal.
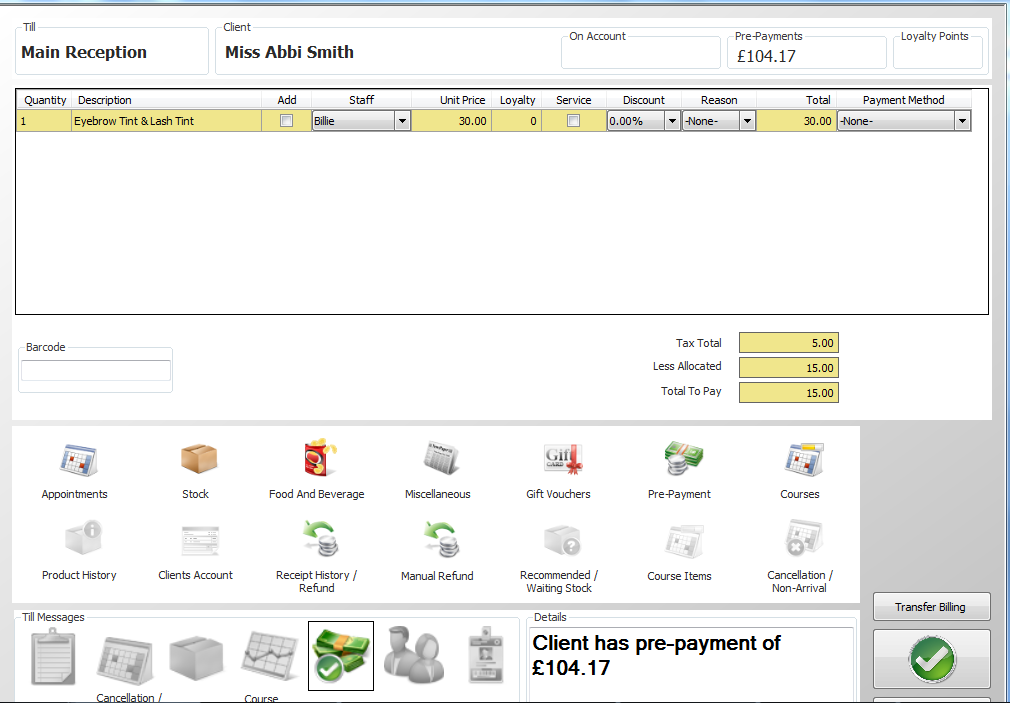
On departure, you will notice that the amount already paid is £15.00, this is in the less allocated box, and the outstanding amount due is £15.00 (see Figure 11).
Figure 11
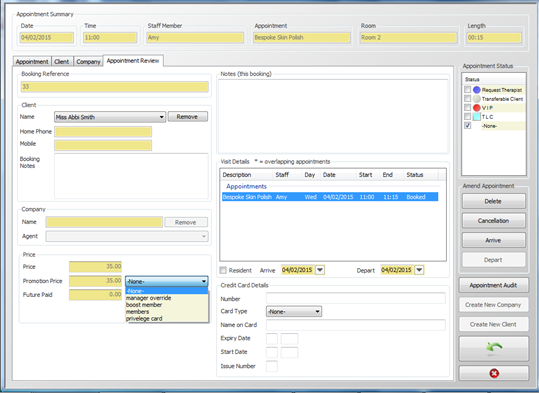
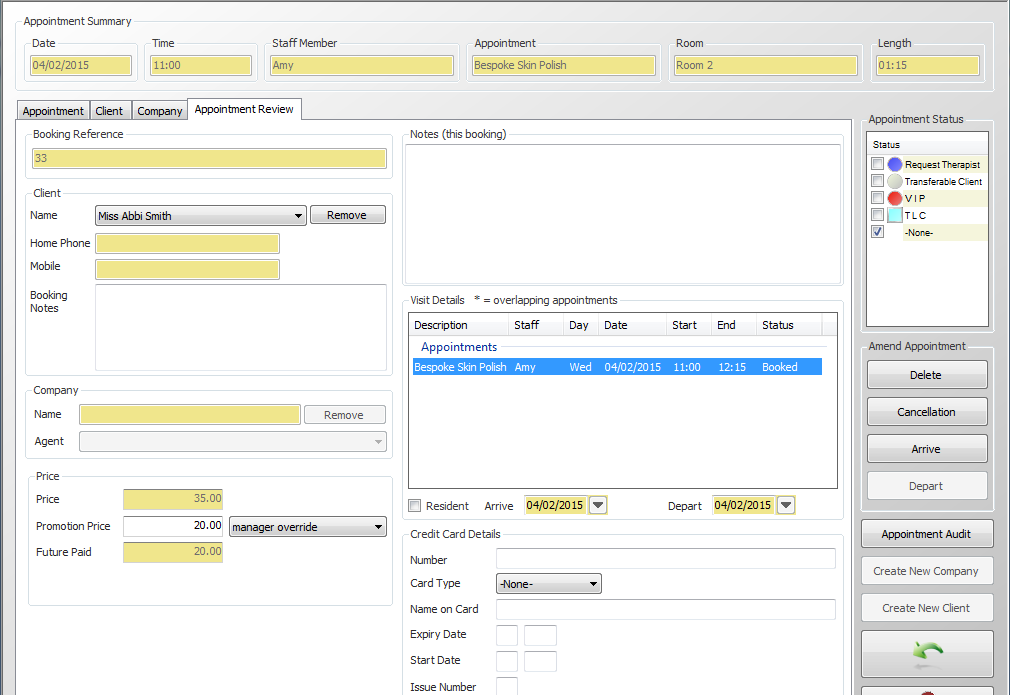
You can also discount a future payment. Book the appointment as normal, and click on the appointment to view the “Appointment Review Tab” (Figure 12).
- Using the dropdown arrow at the end of the promotion price box and select the type of discount you wish to apply.
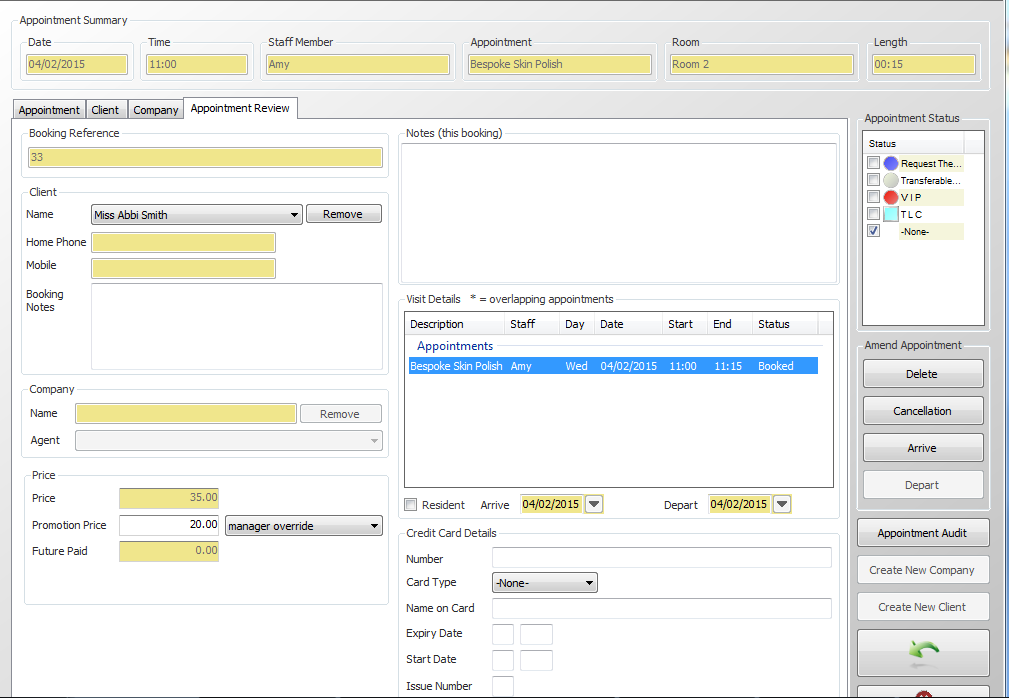
- Select a Manual Override type of discount and the adjacent box will become white and you will then be able to state how much you wish to charge for the treatment (see Figure 13). Otherwise, the discount linked to the selected Promotional Price will automatically appear.
- Press the “Green Backwards Arrow” to take you back to your main appointment View screen.
- Take the relevant future payment, you will notice in the example below (Figure 14) that the amount asked for is £20.00 and not £35.00.
- “Arrive” and “Depart” the client as normal.
Cancelling an appointment which has been Future Paid / Refunding a Future Payment
In extreme circumstances you may need to cancel an appointment which has been future paid. To do this click on the treatment from Appointment Booking.
- Click on the Cancellation icon located on the right-hand side of the screen (Figure 15)
Figure 15
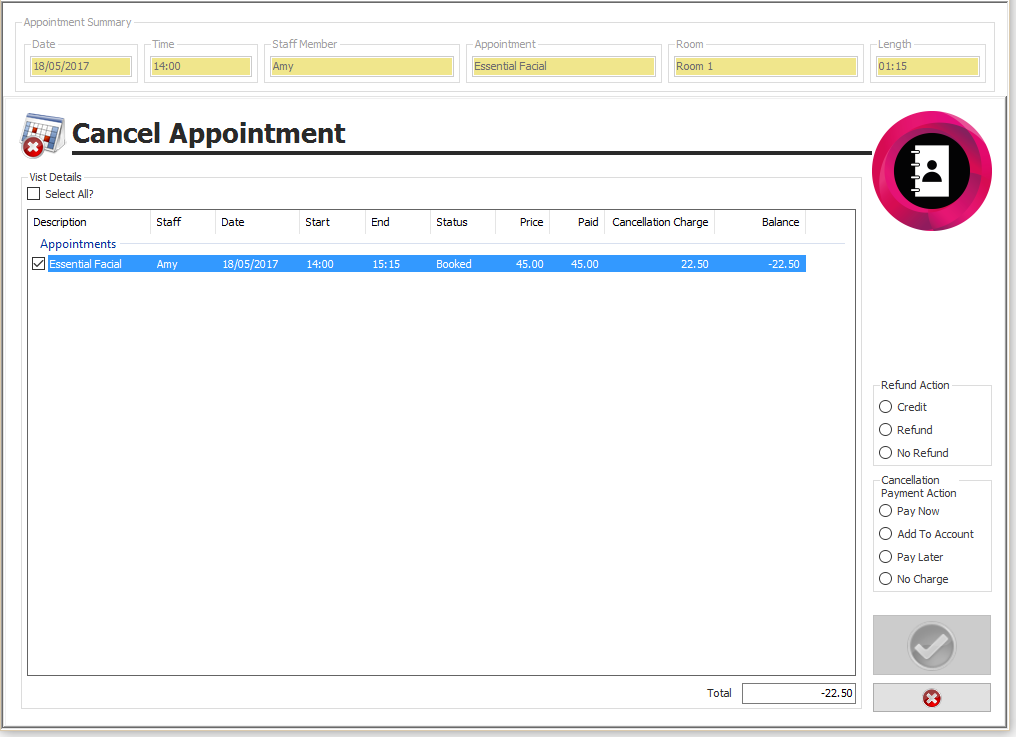
You will now be presented with the following screen (Figure 16).
Figure 16
You will notice two boxes located at the right of the screen, the first one is the “Refund Action” asking what you wish to do with the money that has already been taken:
- Credit – this will remove the payment and place a “Pre-Payment” account on the client, allowing them to spend the money at a future date.
- Refund – this will give you the ability to refund the client.
- No Refund – any monies taken will be kept for use when the cancellation period has expired.
The 2nd box is relevant to “Cancellation Payment Action” charges – please see the section of this manual that deals with cancelling appointments for full details.
The amount in the total box will account for any cancellation charges that the client may incur, in the example above there is no cancellation charge to pay.
Once both the “Refund Action” and the “Cancellation Payment Action” have been allocated you will be able to “Green Tick” and proceed accordingly.
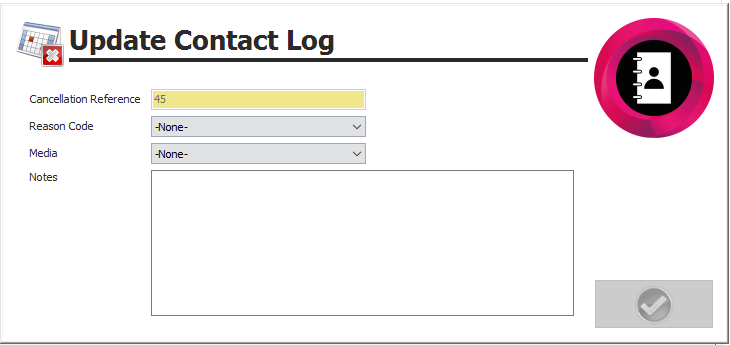
If so configured, the following box will appear before the cancellation can be completed (Figure 17).
Figure 17
- “Reason Code“ allocate the required cancellation reason
- “Media” state how the cancellation was communicated to you
- “Notes” input any additional notes as required
For the configuration of “Cancellation Reason Codes” please see the Cancellations section of this manual.
Related Articles
Premier | Pre-Payments
Description A Pre-Payment is a deposit method usually used to hold an amount of credit against a client record card. This may be money taken in advance for use against future purchases or used to hold another type of deposit income instead of ...Premier | Client Sale
Description Client sale allows you to complete a bill and allocate all items to a specific client, therefore saving all previous treatments and any stock items onto their client card so you are able to view them at any time. Resolution In “Reception” ...Premier | Till Sale
Description Till sale enables you to sell an item to a client, however, it does not ask you to input a client's name. Therefore no information will be stored on the client's card and no further information will be viewable once the client has left ...Premier | Courses
Description Courses are used to sell multiple appointments in advance and track usage on the day of the appointment. Typically the value of appointments included in a Course are at a reduced value due to purchasing these in bulk, therefore on ...Premier | Creating A New Payment Method
? Summary You can create additional payment methods in Premier and add them to your Tilling screen. This allows for more flexibility in how payments are processed and allocated across your site(s). ? Important Note Before Starting! If your Premier ...

