Premier | End of Shift/Day
Description
The End of Day procedure must be completed every day to ensure financial information in the system is correct and up to date. If the End of Day is not completed the reports will be incorrect and the client history will not be updated, meaning that certain functions of the system will not be useable.
End of Shift can be performed before the end of the day, for example, if you have two different shifts in reception, one starts at 9 and finishes at 3 and one starts at 3 and finishes at 9, at the end of the first shift the End of Shift is performed, this will then account for all monies taken from the first shift and ensure that when the second shift starts that the till is balanced, at the end of the second shift the End of Day will be completed.
Use the following as a guide, it is not the only way to approach an “End Of Day” but it is the method recommended by Premier Software Solutions. Your management team may have also introduced additional procedures that must be completed along with the Premier Software requirement.
Resolution
- You will also need to ensure that the correct configuration is set up. To do this in “Administrator” click on “General Menu”.
- Click on the “Sites” icon (Figure 1).
Figure 1
- Ensure you have the correct “Site” selected.
- Click on “Site Settings”.
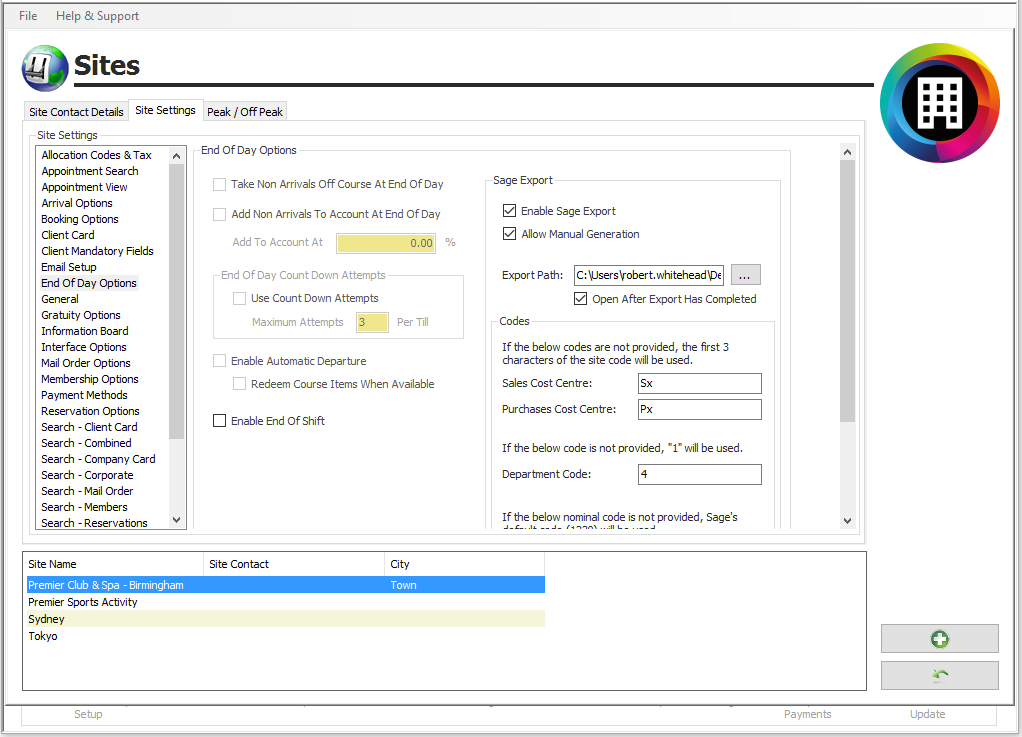
- Click on “End of Day Options” and the following screen will be shown (see Figure 2).
Figure 2
“Take Non Arrivals of Course at End of Day” – for future release.
“Add Non Arrivals to Account at End of Day” – if a client does not turn up for a treatment you can allocate any lost revenue to the client account as they are still required to pay.
“Add to Account at %” - this is the amount in % that will be added to client's account.
“End of Count Down Attempts” – you can state how many attempts your staff can try and complete by the end of the day, if this is activated after the last attempt the end of the day will automatically be confirmed regardless of whether being right or wrong.
“Enable End of Shift” – this will need to be enabled if you have split shifts, for example, one member of staff's shift starts at 7.00 am and finishes at 2.00 pm - before this staff member leaves for the day you require them to account for any revenue that they have been responsible for. This will mean the till will be fully reconciled before the 2nd member of staff shift commences.
The first part of reconciling the till is to count everything in the till drawer at the end of the day. You will need to count all of the cash, credit card slips, cheques and redeemed gift vouchers; this procedure is the same regardless of the end of shift or end of day.
You may have split your credit cards and have a button in the till for each card type. This will mean calculating an individual total for each card type specified. You may also have additional payment methods configured to say “Enter Value at End of Shift /End of Day” and these must also be calculated. These payments would already have been configured within “Administrator”.
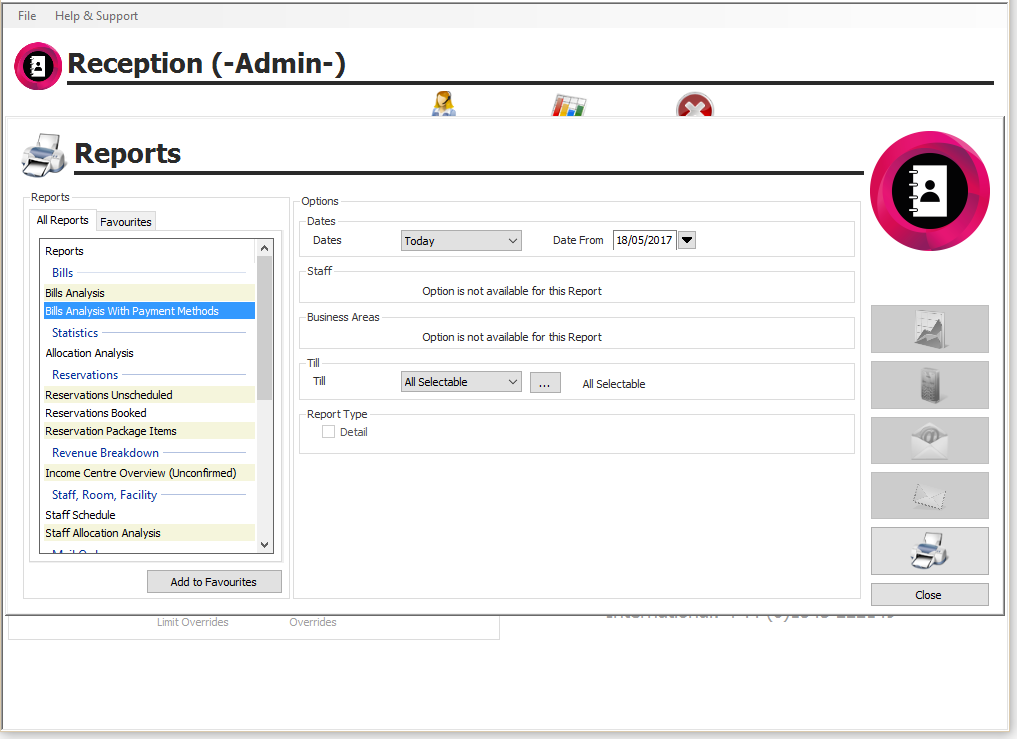
The simplest way to check the figures is to run the “Bills Analysis with Payment Methods” report. This report lists each receipt put through the till, who was served, the bill value and the payment method used. Any split payments or change given out are also noted.
- In “Reception” click on the “Reports” icon
- Select the “Bills Analysis Payment Methods” report
- State which day you require the report to run (see Figure 3).
Figure 3
- Press the “Printer” button to view the report.
Amending Receipts
If there are any discrepancies between the totals showing in the report and the actual totals in the till these can be amended. There is a facility named “Amend Receipts” which can be utilised at any point BEFORE the “End Of Day” has been confirmed.
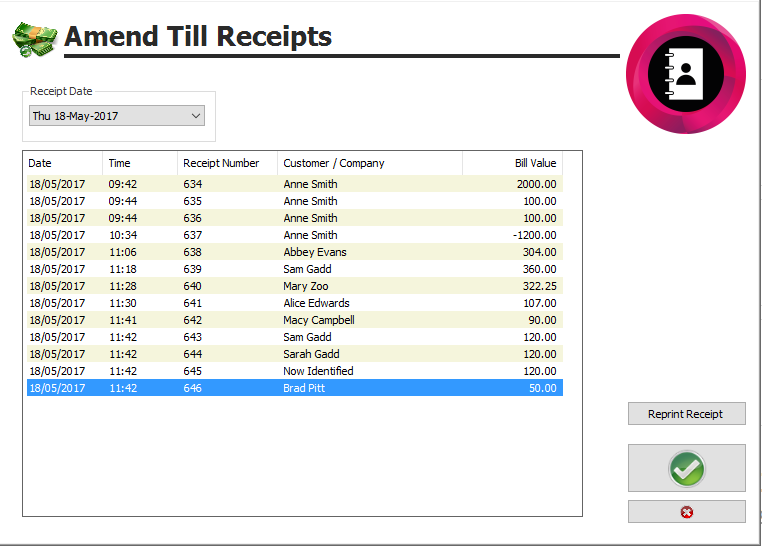
- Click on the “Amend Receipts” icon on the main reception screen, and the following screen will appear (see Figure 4)
Figure 4
- This is a list of all transactions that have been processed that day.
- Select the transaction which requires amending.
- Click on the “Green Tick” to open the receipt details.
- At this point, the “Staff Allocation” can be changed along with the “Method” of payment
Entering End of Shift Totals
The till totals need to be entered into “Reception” to complete the “End of Shift”.
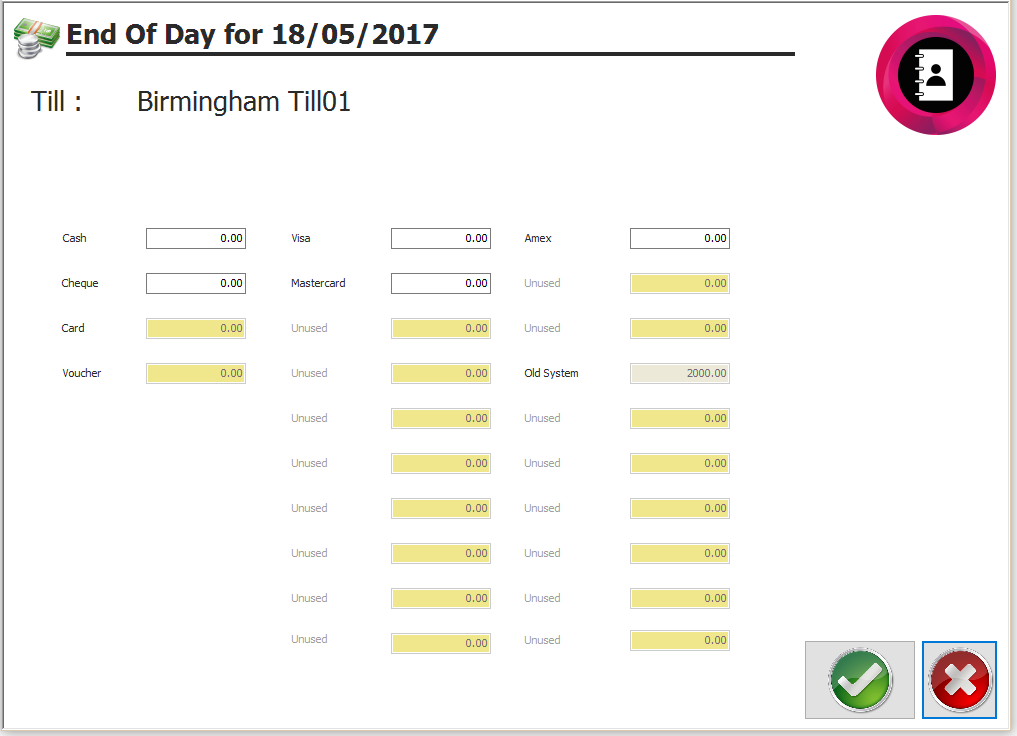
- Click on “End of Shift / Day”, and the following message will be shown (Figure 5)
Figure 5
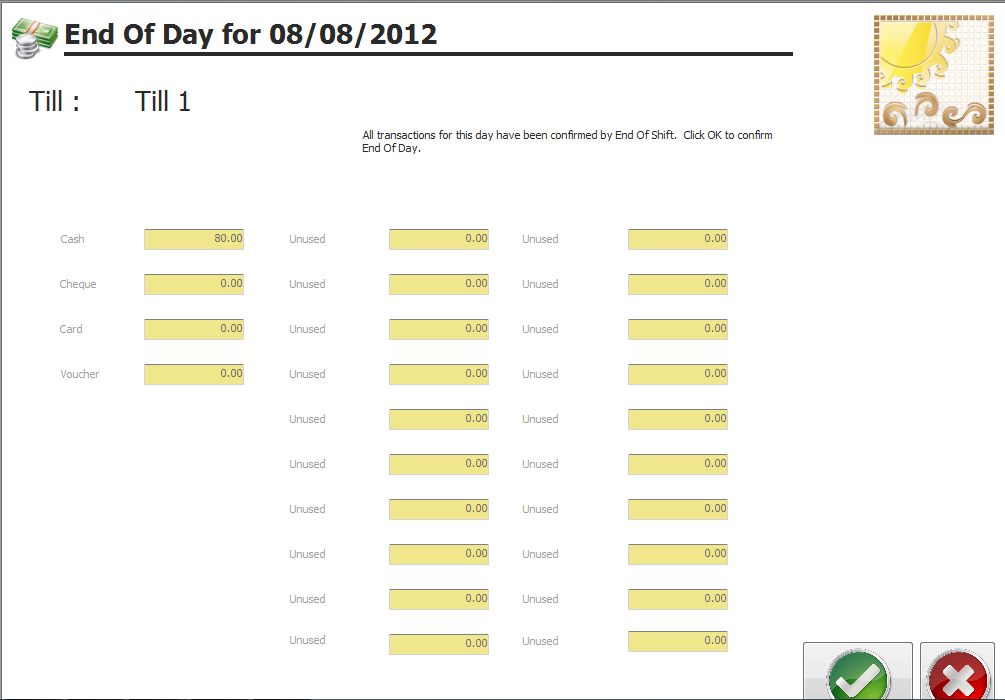
- There will be a text box for “Every” payment method that you accept, in the example above you would need to reconcile “Cash” / “Cheque” and “Card” payments.
- Count the “Cash” in the till and put the amount in the “Cash” box.
- Count the “Cheques” in the till and put the amount in the “Cheque” box.
- Reconcile your PDQ machine and input the amount in the “Card” box, Note, that it is also possible to account for each credit card excepted separately. If this is the case, instead of inputting the overall card totals into the Card box you would have different boxes marked with the names of the cards and the separate amounts would need to be entered against these.
- If you have taken any payments using “Gift Vouchers” the amount would need to be entered against the “Voucher” box.
- Once you are happy with all the amounts entered click“Green Tick” and the following screen will be shown (Figure 6):
Figure 6
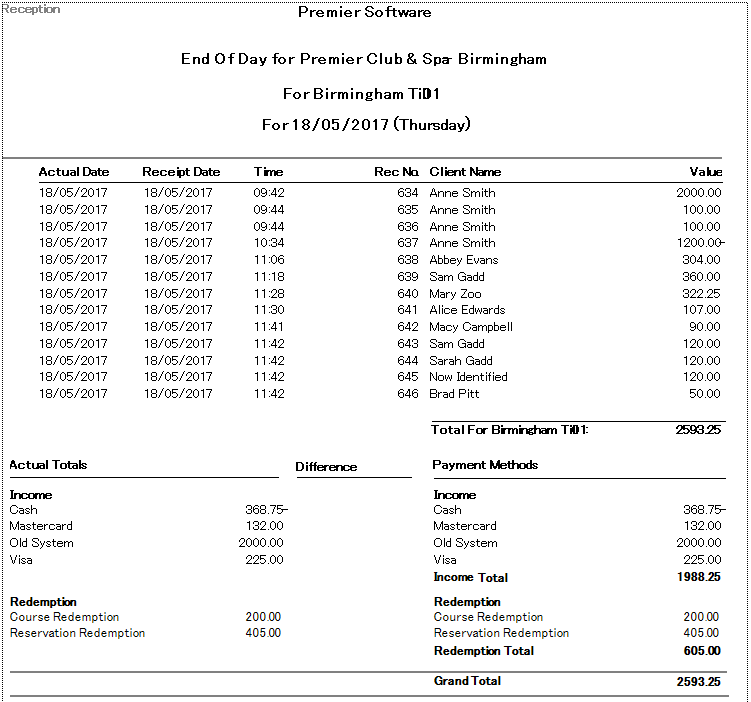
This will produce the “End Of Shift Analysis” report which lists every transaction that has gone through the till. On the last page of the report on the left will be the totals which have just been entered (the actual takings); on the right, there will be the totals that have been processed through the Premier Spa system (expected takings). Any differences between your actual and expected takings will be displayed in the centre of the two columns.
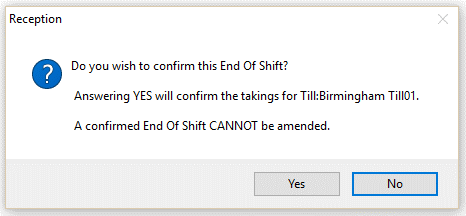
If there is no difference between the actual and expected totals “Complete the End of Shift Procedure‟ by clicking on the Green Backwards Arrow the following screen will be shown (Figure 7).
Figure 7
- Click on “Yes” – the following screen will be shown (Figure 8).
Figure 8
- NOTE once the “End of Shift” has been “Confirmed” it CANNOT be amended.
- If the “End of Shift” shows a discrepancy click “No” and go through the process of checking the “Bills Analysis Payment Methods” and “Amend Receipts” as documented above.
- When the differences have been amended or your financial team is happy with the totals, Click on the “End Of Shift / Day” icon again.
- Enter the correct totals into the “End of Shift”.
- This will produce the “End Of Shift Analysis” report.
- On leaving the End of Shift Analysis screen the following message will be shown (Figure 9).
Figure 9
NOTE: if this is only the end of shift DO NOT answer “Yes” to completing the “End of Day”, the answer will be “No”. The following screen will now be shown (Figure 10).
Figure 10
- Press the “Red Cross”.
When you are ready to confirm the End of Day follow the process below.
- Click on “End of Shift / Day” (Figure 11).
Figure 11
- Please follow the instructions above as before you can complete the “End of Day” you will be required to complete the “End of Shift”.
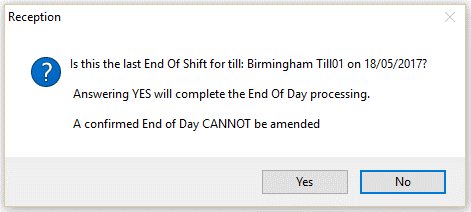
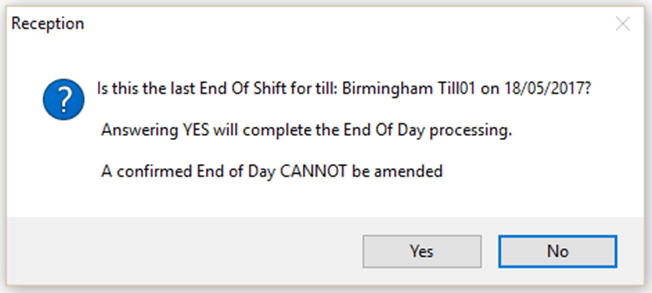
- Once all amounts have been inputted and you have confirmed the “End of Shift” you will need to state that this is the “Last End of Shift”, and click “Yes” when the prompt below is shown (Figure 12).
Figure 12
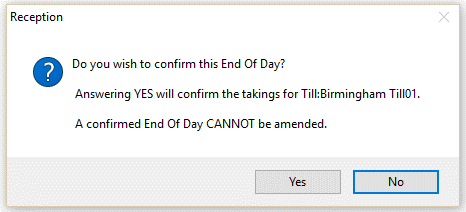
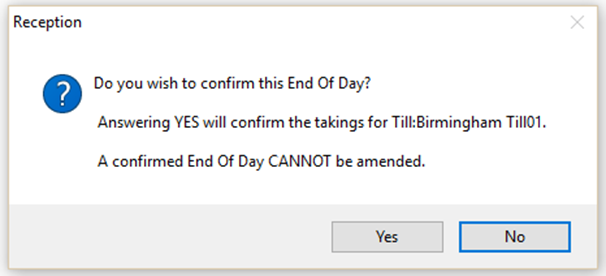
- You will now be presented with the “End of Day Analysis” report, if you are happy with all amounts shown, press the green backwards arrow and the following prompt will be shown (Figure 13).
Figure 13
- Click “Yes” and your “End of Day” is now complete.
- If no further transactions have been taken since the previous end of shift when you click on the End of Shift / Day icon the following prompt will now be shown (Figure 14).
Figure 14
- Click “Yes”
- Process the “End of Day” as described above.
The “End Of Shift / Day Analysis” report cannot be re-created once the “End Of Shift / Day” has been confirmed, however in Enterprise Manager>Reports>Bills>End of Day Review gives you the option to re-print this report at any stage.
Premier Software recommends you always export the document in a “pdf” format to ensure that the information cannot be changed.
Once the report has been printed, exported or both; Close the “End Of Day Analysis” report.
- Once completed click on the “Green Back Arrow” to leave the screen.
Related Articles
Premier | Petty Cash
Description Petty cash allows the user to process petty cash payments which are coming out of the till, this will keep the end of day and financial reports correct. Resolution In "Administrator" or via "Manager" click onto “petty Cash" Creating Petty ...Premier | Financial Year End and Targets
? Summary Targets in Premier allow you to define the financial reporting structure and set revenue targets for weekly or monthly periods. These targets are used in financial reports to compare actual performance against expected revenue over defined ...Premier | Reporting
Description Available Reports Resolution Bills End of Shift Report Summary This report enables you to finish your shift and account for any monies that have been taken during that period, for example if you had a member of staff that works between ...Premier | Marketing
Description The Marketing section of your Premier software allows you to specify a select group of clients that you wish to target for a particular mail shot. Once the clients have been selected you then have the option to mail merge, email merge or ...Premier | Departures
Description When the client has finished their appointments and has come to pay they need to be departed in the system. Resolution Select the “Departures” icon (Figure 1). Figure 1 You will now be presented with the following screen (see Figure 2). ...

