Premier | Companies
Description
Resolution
In “Reception” click on “Companies”, see Figure 1.
Figure 1
In the “Search Method” box input the name of the “Company” that you wish to create.
Click onto the “Magnifying Glass”, this is located at the end of the “Search Method” box.
A box will appear do you want to add a new company – click “Yes”.
You will now be asked to fill in the details for the company.
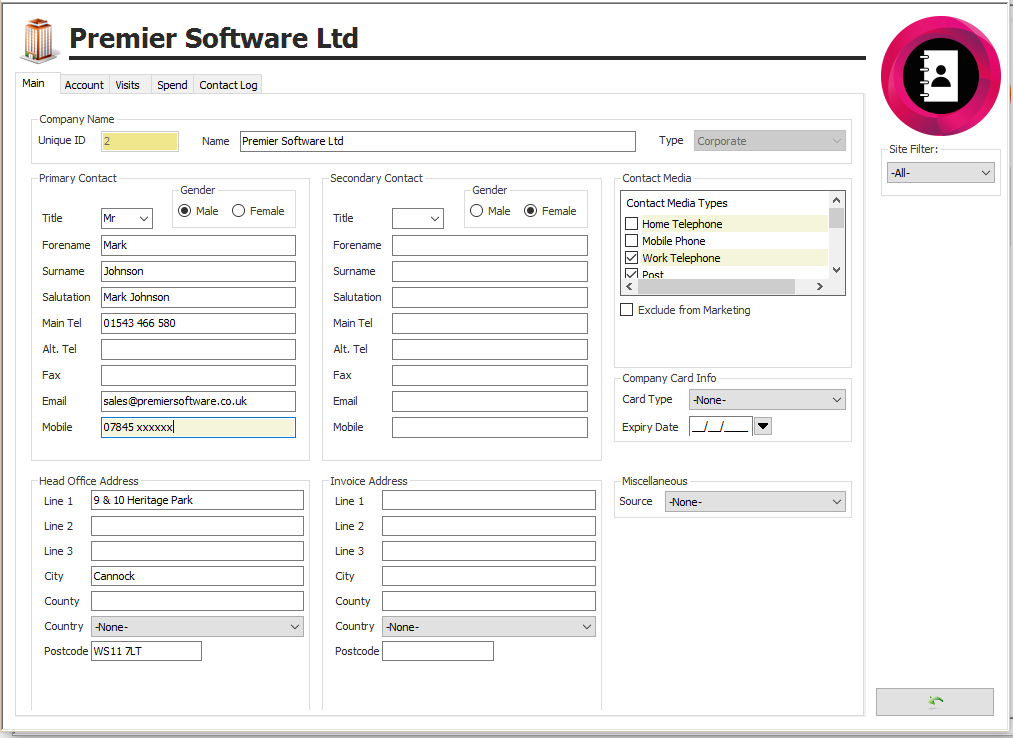
Main
Fill out the “Company Contact Details” as required, you will notice that you have two contact boxes, this gives you the ability to input a different address if required for invoicing.
“Green Tick”.
Figure 2
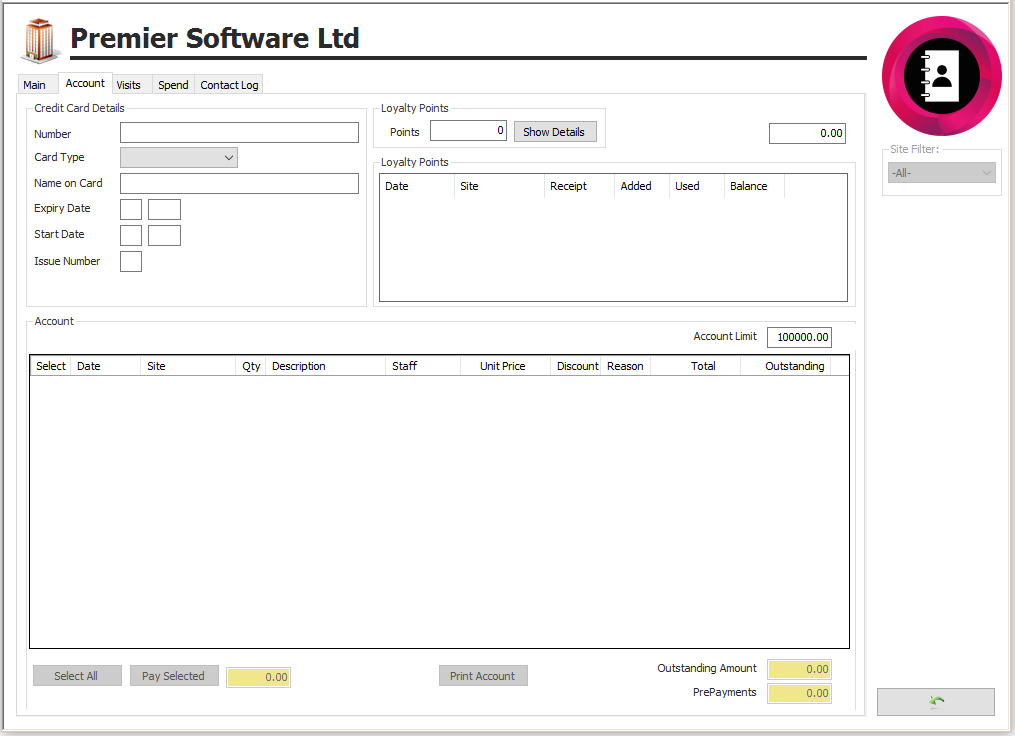
Account
This screen allows you to state if the company is permitted to run up an account, if so input the required amount in the “Account Limit” box.
If required input the “Credit Card Details”.
All items that have been placed on account will appear on this screen giving you the ability to pay off the account items all at once or select individual items. Please see prompt sheet “On Account” for details on how to account for these items.
This screen also informs you of any “Loyalty Points” that may be awarded to the company.
Figure 3
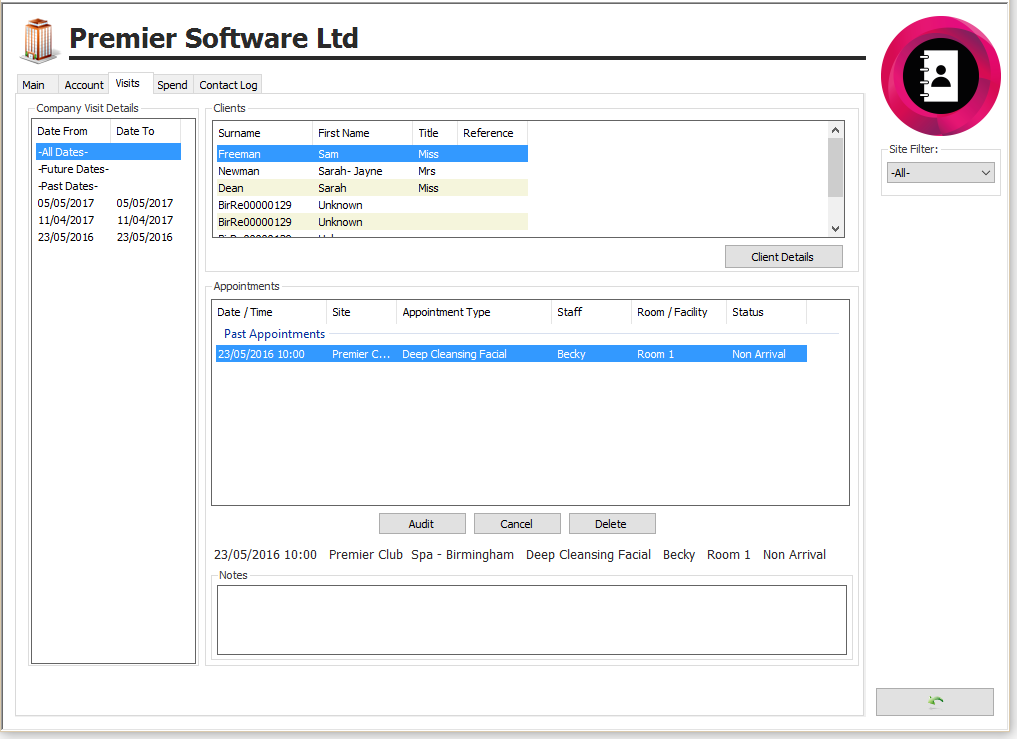
Visits
“Company Visit Details” - you can look at “All Dates” / “Future Dates” or “Past Dates”.
“Clients” – this will list all clients that have visited between the dates ranges selected.
“Appointments” – this will list all the appointments that each client has had.
“Notes” – this will show any notes that have been inputted.
Figure 4
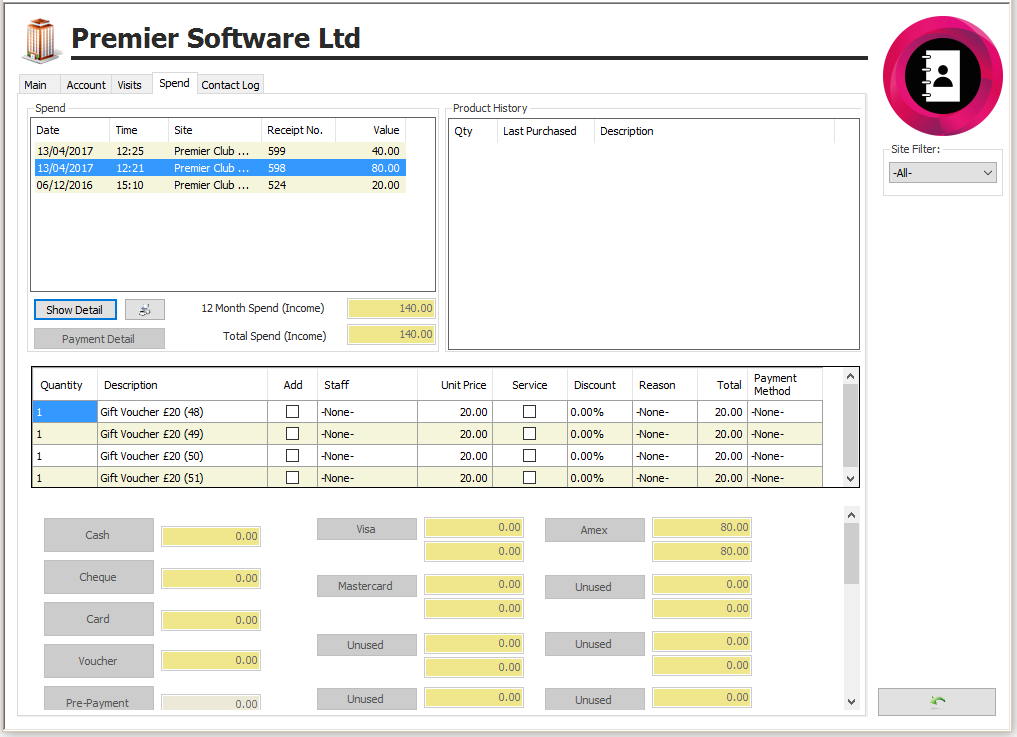
Spend
“Spend” gives a comprehensive breakdown of the revenue spent, any retail items that have been purchased and how the bill was paid.
Figure 5
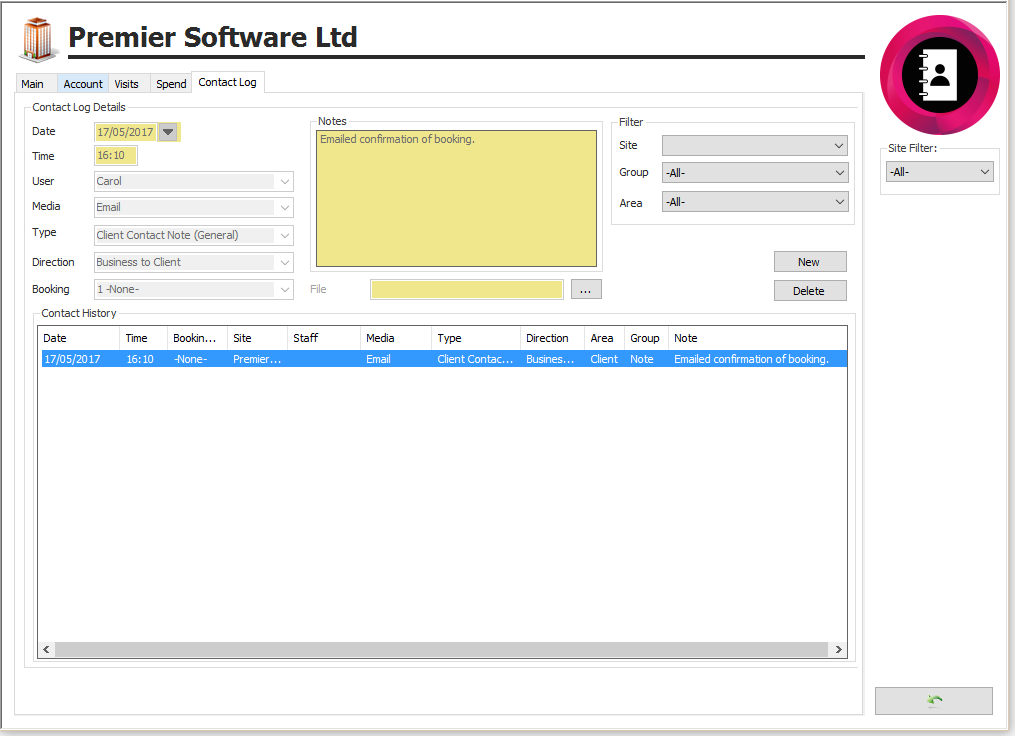
Contact Log
“Contact Log” gives you the ability to log any conversations that have taken place between you and the company.
Figure 6
Booking in an Appointment – Company Only
Click onto “Appointment Booking”.
Select the “Therapist” and “Time” required.
Select the “Appointment” and “Room”.
Click onto the “Company” tab.
Ensure the “Search Method” is set to “Company”.
Type in the “Company” name.
“Green Tick”.
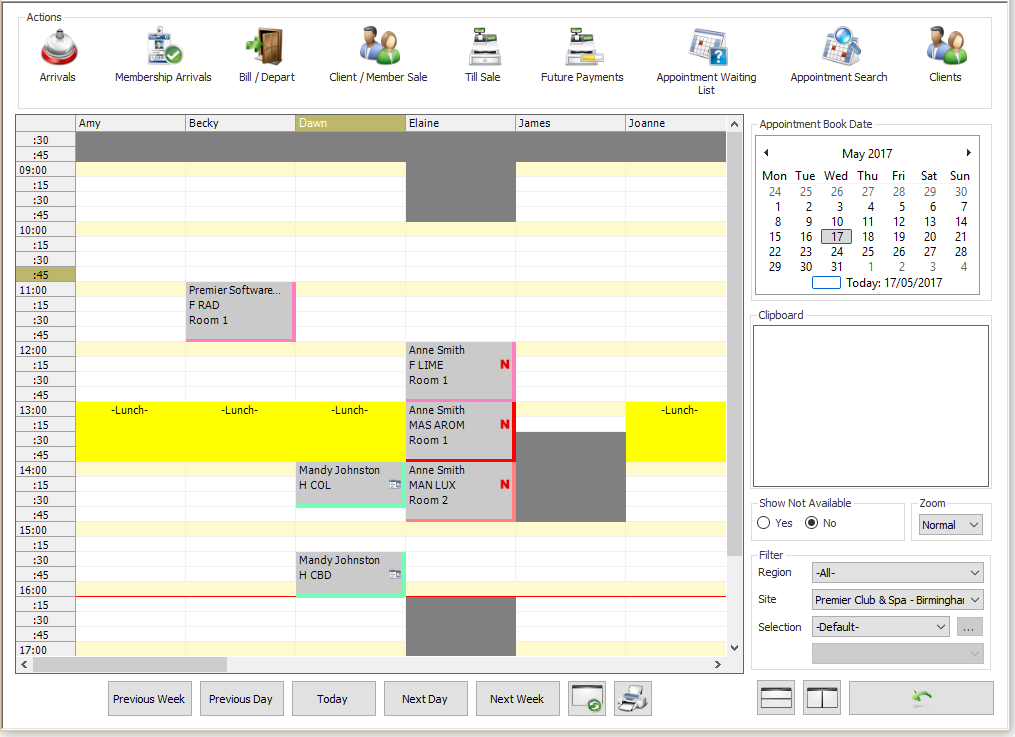
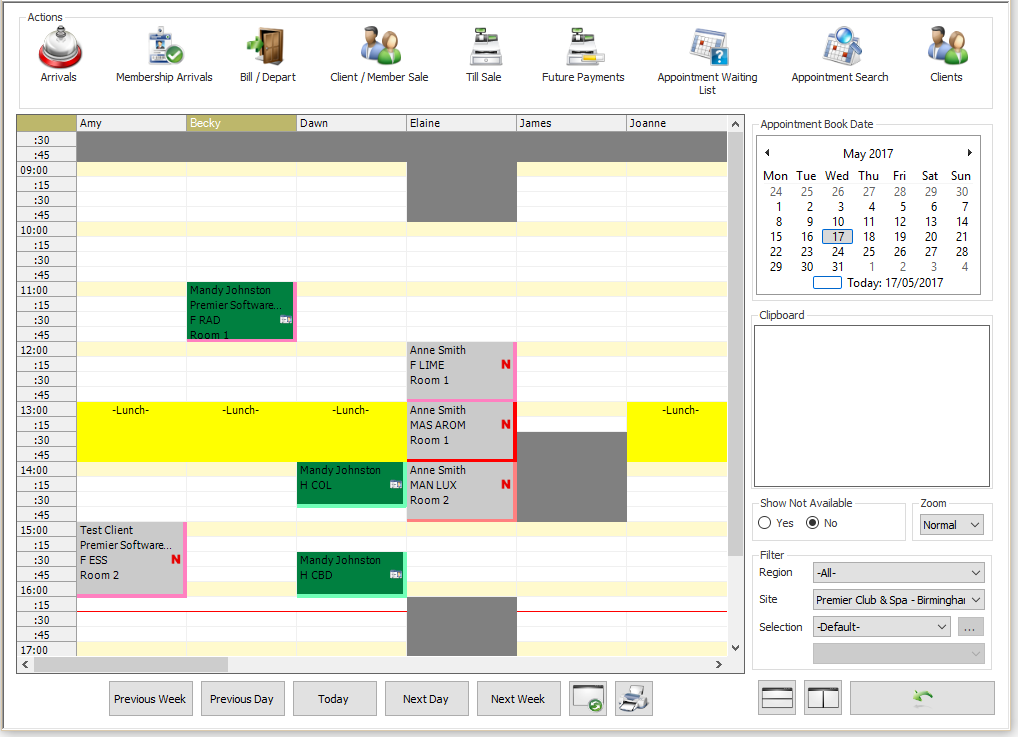
The appointment will now appear in your diary with the “name of the company” and the “code” of the treatment that has been booked, see figure 7.
Figure 7
Please note, you will not be able to “Arrive” this appointment until you have allocated a client’s name in place of the company, to do this click onto the “Arrivals Tab”.
Select the “Company Name”.
In the “Arrivals” information the “Company Info” icon is highlighted, click onto this and in the details, section a message appears stating “please select clients for the company appointments”.
Click on the relevant appointment and you will notice that the box called “Company Booking” is available.
Click onto “Allocate Client”.
Input the clients “Surname” and “Green Tick”.
You will be returned to the “Arrivals Screen” and you will see from the example below the client’s name is now inputted and ready to be arrived.
Click onto the “Clients Name”, click onto the “Company” icon, this shows you who has had what treatment, and the client is now arrived.
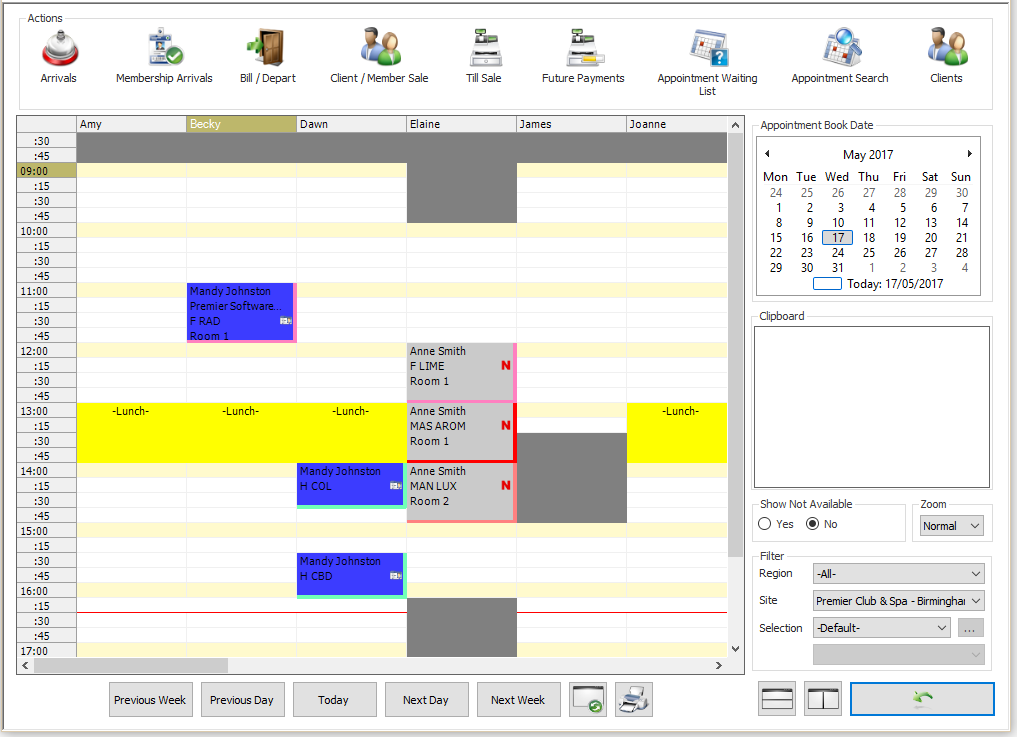
When you look back to your diary view screen you will see that the appointment has remained the same, however in place of the company name you now have the clients name, see figure 8.
Figure 8
When departing the client, you have two options:
Option 1
Company pays
The name of the company will appear alongside the name of the client, the client will automatically be highlighted, ensure that the “Company” name is highlighted; this can be done by simply clicking on the “Name” of the “Company”.
“Green Tick” and you will be taken to the payment method screen, input how the company is paying and then “Green Tick”.
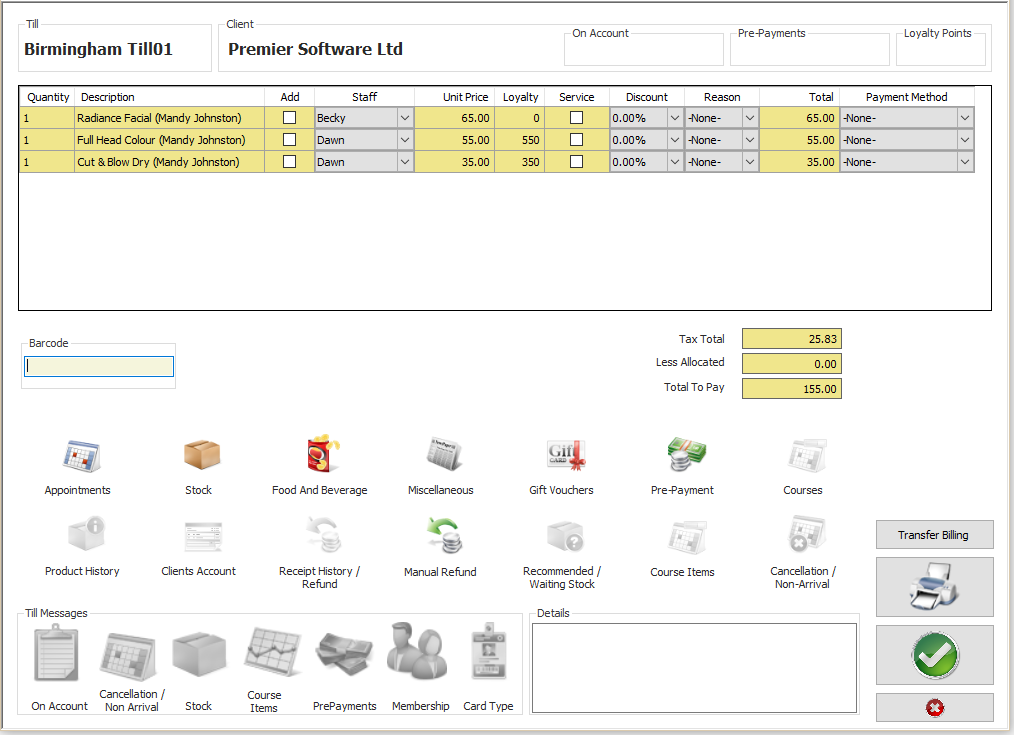
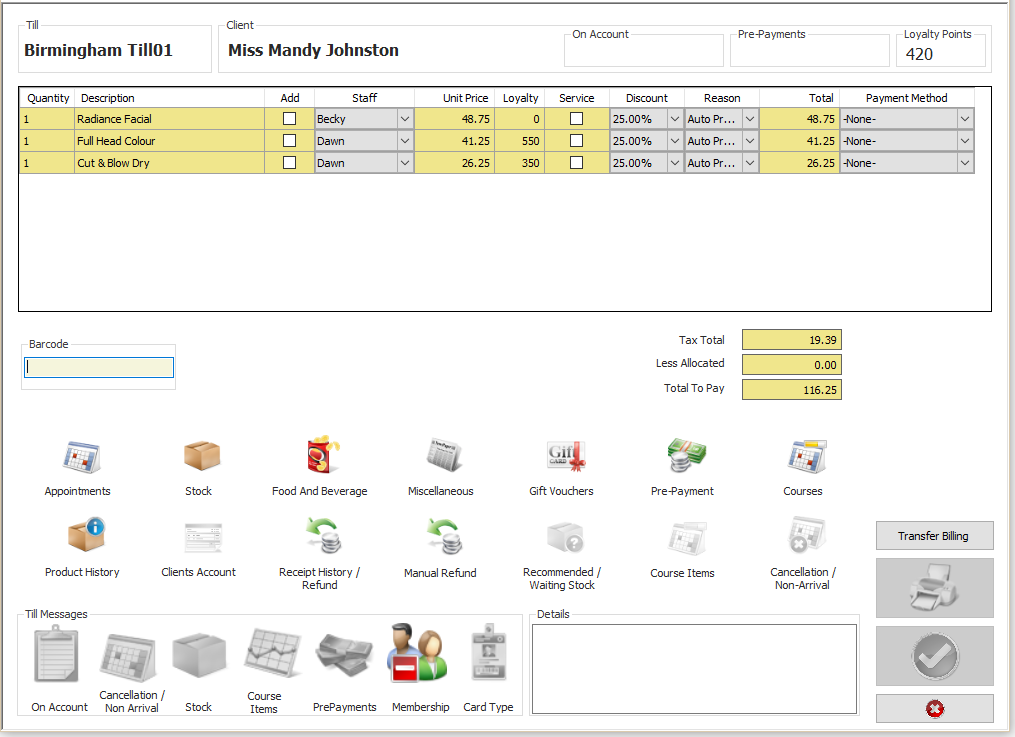
You will notice that on the departures screen the name allocated to the treatments is that of the company name and not that of the client, see figure 9.
Figure 9
Option 2
Ensure that the “Clients” name is highlighted and not the company.
“Green Tick” and you will be taken the payment method screen, input how the client is paying and then “Green Tick”.
On the departures screen this time you will notice the clients name and not the company name, see figure 10.
Figure 10
Booking an Appointment – Client Allocated to a Company
Click onto “Appointment Booking”.
Select the “Therapist” and “Time” required.
Select the “Appointment” and “Room”.
“Green Tick”.
Input the “Clients Surname”.
Click onto the “Company Tab”, search for the company.
“Green Tick”, the appointment will now show in the diary with the “name of the client”, the “company name” and the “code” for the treatment booked, see figure 11.
Related Articles
Premier | Reception Reports
Description Reception Reports Resolution In “Reception” Click onto “Reports”, see figure 1 Figure 1 Bills “Bills Analysis “ “Dates” – this report can be ran for selected date ranges simply by clicking on the downwards arrow located at the end of the ...Premier | Stock Creation - Bulk Products
Description The Bulk Stock functionality provides the capability's of creating a range of products which can either sold as retails items or used professionally against services. This section covers the ability to create the range of products based ...Premier | Reporting
Description Available Reports Resolution Bills End of Shift Report Summary This report enables you to finish your shift and account for any monies that have been taken during that period, for example if you had a member of staff that works between ...Premier | Stock Suppliers
Description All stock items must have a supplier to utilise the “Stock Orders” feature offered within “Administrator” or “Manager”. The “Suppliers” section also offers an excellent opportunity to store suppliers contact details so that they are ...Premier | Stock Creation
Description The stock section provides the functionality to create new products which can either sold as retails items or used professionally against services. This section covers the ability to create a new product, configuring the dependency's and ...

